As the backbone of almost every electronic device, printed circuit boards (PCBs) hold everything from smartphones to medical devices. They help integrate the different components, ensuring electricity moves seamlessly. However, now and then, things might go awry. One frequent issue with electronic devices is a short circuit.
If you are involved in the design, maintenance, or production of electronics, knowing how to locate short circuits is essential. This blog aims to share practical techniques to identify short circuits on PCBs. We intend to simplify methods, putting them in easily relatable terms. Be it a novice or an inquisitive reader, we hope the content motivates you to engage with PCBs and resolve problems they present.
What is a Short Circuit on a Printed Circuit Board?
As the saying goes, “a short circuit is an event that occurs when there is an unintentional connection between two points in an electric circuit.” Let’s say we are dealing with a positive and negative end with a pipe allowing unrestricted flow. If we make an opening in the pipe, for some reason, the water would start flowing sideways. “Shorting” would allow the water to go sideways, and if it’s uncontrolled, things are bound to break.
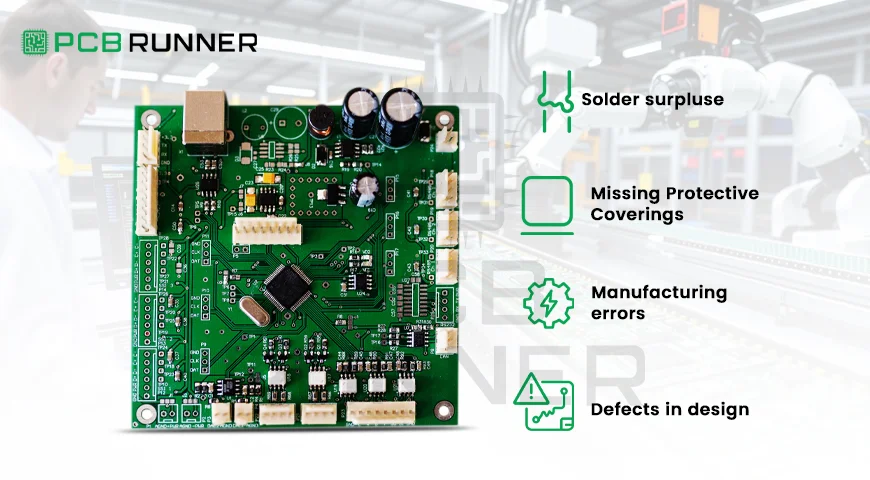
Shorts in printed circuit boards can be caused by:
- Solder surpluses (small accumulations of solder connecting two traces)
- Severed or missing protective coverings
- Manufacturing errors
- Defects in the design lead to the PCB design shorts process.
Finding these shorts and the associated repairs is significant due to the safety and performance cost.
Why Is It Important to Track Down Short Circuits in PCBs
Short circuits can result in serious issues:
- Wrong Device Behavior
- Possible Safety Concerns
- Additional Expenses
Loss of Time in Production
Detection of short circuits in PCBs is an utter priority in avoiding excessive spending and needless stress, which is why many suppliers and manufacturers of printed circuit boards in the UK employ thorough testing practices during the fabrication and assembly of the PCBs.
Detection Short-Circuit Tools
Before discussing the methods, it is pivotal to start with the tools that the professional utilizes:
- Multimeter: Basic tools to measure continuity and resistance
- Thermal Camera: Identifies excessive heat on power apply boards
- Microscope and Magnifying Glass: Checks the components to see solder connections
- Automated Optical Inspections: Scanners that check for surface defects
- X-ray Inspection: Reveal concealed shorts in multilayered boards.
- In-Circuit Testers (ICT): Probes that check the electrical continuity of circuits automatically.
- Fly Probe Testers: Moveable probes for small-sized production and prototypes.
There are advantages and disadvantages to each approach. In this case, using more than one technique will enhance precision.
Identifying Short Circuits on PCBs: A Comprehensive Guide
1. Visual Inspection
Let’s begin with the basics. Examine the PCB more closely under a light with a magnifying glass. Ensure there are:
Solder bridges that join either a pin and a pad or two pads.
Insulation that is cracked or damaged on the traces.
Copper that is either rogue or scratched, connecting two paths.
Solder that is poor or missing gaps.
This usually helps to identify and resolve many issues before the PCB is powered. A lot of shorts are a result of excess solder or debris.

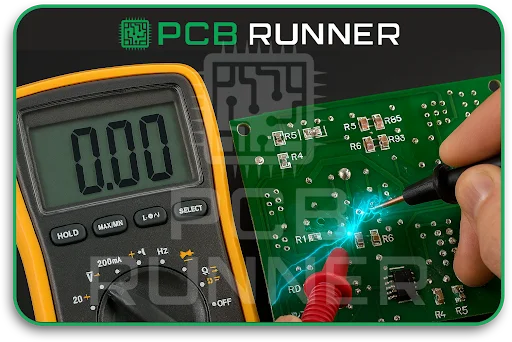
2. Using a Multimeter for the Continuity Test
This is where a multimeter will come in handy. Set it to continuity mode (the meter beeps when two points connect). Then, do the following:
Hold one probe on the power trace or the input pin.
Hold the other probe on the ground or a suspicious neighboring trace.
If the multimeter beeps when it shouldn’t, that is an indication of a short. Another test is to check resistance. Very low values between points that are supposed to be isolated could indicate a short.
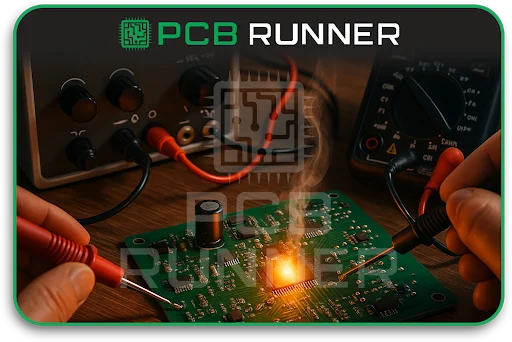
3. Power-On Testing (With Caution)
Powering the board might sometimes identify shorts due to overheating or odd operations. Be careful in this case:
Use a current–limited power supply to apply power and prevent damage.
Check if any area rapidly heats, hot areas are usually the result of shorts.
Check for indicators such as a burning odor or smoke (if noticed, stop immediately).
4. Advanced Testing: Automated Optical and X-Ray Inspection
For the production of high-volume or high-add-density PCBs, the following approaches are functional:
AOI: Uses Automated Optical Inspection to take high-quality pictures and detect solder bridges or misplaced metal using software algorithms.
X-Ray inspection: Useful for multilayer boards, as the shorts usually occur in layers that are not externally visible. X-ray is capable of seeing solder bridges under BGAs and other concealed defects.
These approaches provide remarkable accuracy, though they require additional apparatus.
5. In-Circuit Testing (ICT) and Flying Probes
ICT is deployed along with a “bed of nails” fixture to check physical contact of exemplary assembled boards with printed circuits and detect shorts by resistance and continuity tests. Flying probe testers can operate without fixtures, which makes them useful for prototypes as they tend to be tested without specific setups.
These techniques diagnose shorts at the component level and improve the PCB quality assurance.
Guidelines for Locating Shorts in Complicated PCBs
Locating shorts in multilayer and smaller boards can be sophisticated. Below are some valuable tips:
- Use the schematic and the PCB design to narrow down potential areas to be checked.
- Always check the vicinity of the power supplies and ground planes since this is the common area for shorts to occur.
- While powered under thermal imaging, search the area using a thermal camera for hotspots.
- Take a portion of the area and check the limited places.
- Safely remove parts one at a time to exposed regions to isolated shorts to safely exposed regions.
Addressing PCB Design Short Issues
Prevention is better than cure! Good practices regarding PCB shorts matters:
- Maintain proper gaps between traces.
- Steer clear of sharp angles as well as overlapping pads.
- Make use of automated clearance and spacing design rule checkers.
- Perform thorough checks on prototypes prior to full-scale production.
- When shorts arise as a result of excess soldering:
- Make use of a de-soldering braid or solder wick to remove excess solder.
- Rework joints to hot air or soldering iron-controlled precision methods
- Wash the PCB using isopropyl alcohol to remove flux and dirt residues.
Conclusion: Detecting Shorts in PCBs Simplified
Safeguarding electronics systems and devices from short circuits hinges on trusting the PCB in question. Trust is carefully earned through compelling visuals and physical checks.
Detecting short circuits is a crucial skill for PCB fabrication and assembly work. The multimeter and efficient inspection methods make the task straightforward.
Short standard PCB detectors and thorough scrutiny from experts guarantee precision in project delivery, from initiation through to culmination. PCB Runner is a prime example of such companies.
With the knowledge and methods detailed above, you can increase the efficiency and quality of your PCB projects. Turn the issues you face into reliable solutions.

