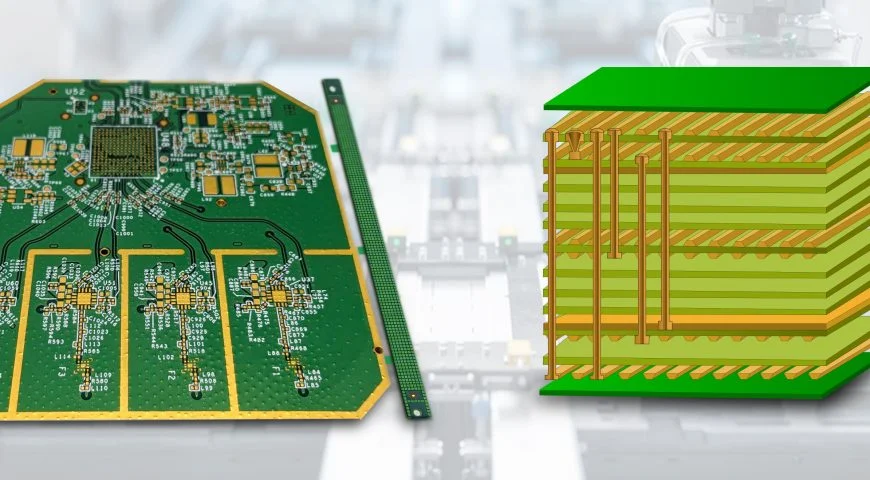
What makes modern electronics smaller, faster, and more powerful than ever before? The answer often lies in High-Density Interconnect (HDI) printed circuit boards. As the demand for compact and high-performance devices surges from smartphones to medical instruments and aerospace systems, HDI PCBs have enabled this technological evolution. With finer lines and spaces, smaller vias, and a greater number of interconnections in a smaller area, HDI technology allows complex circuits to be miniaturized without compromising on performance or reliability.
Yet, design and fabrication of HDI PCBs have their own challenges like optimizing functionality and manufacturability. Every decision, from layer stack-up and via configuration to materials selection and even signal integrity, needs to be evaluated very carefully within the implemented framework. This blog addresses the crucial principles, best practices, and technical guidelines that designers and engineers must follow to effectively navigate the complex landscape of HDI PCB design.
What Is a High-Density Interconnect PCB?
A high-density interconnect PCB uses smaller vias, thinner lines, and tighter spacing, which helps you fit more components in a smaller area. HDI boards can have micro vias, buried vias, and blind vias to connect different layers. These designs are often used in phones, tablets, wearables, and other small but powerful devices.
If you are working with a high-density board-to-board interconnect system, HDI PCBs provide the flexibility and density you need.
Why HDI PCBs Matter?
HDI PCBs are key in modern electronics for several reasons:
- Space Saving: They allow for compact layouts without losing performance.
- Better Signal Quality: Shorter signal paths mean less noise and faster signals.
- Stronger Connections: Vias in HDI boards can be filled and stacked for better strength.
- Lightweight and Thin: Great for wearables and portable tech.
When you switch to a high-density interconnect HDI PCB design, your device will become faster, smaller, and more reliable.
Design Tips for HDI PCBs
To get the best results with HDI, follow these basic rules:
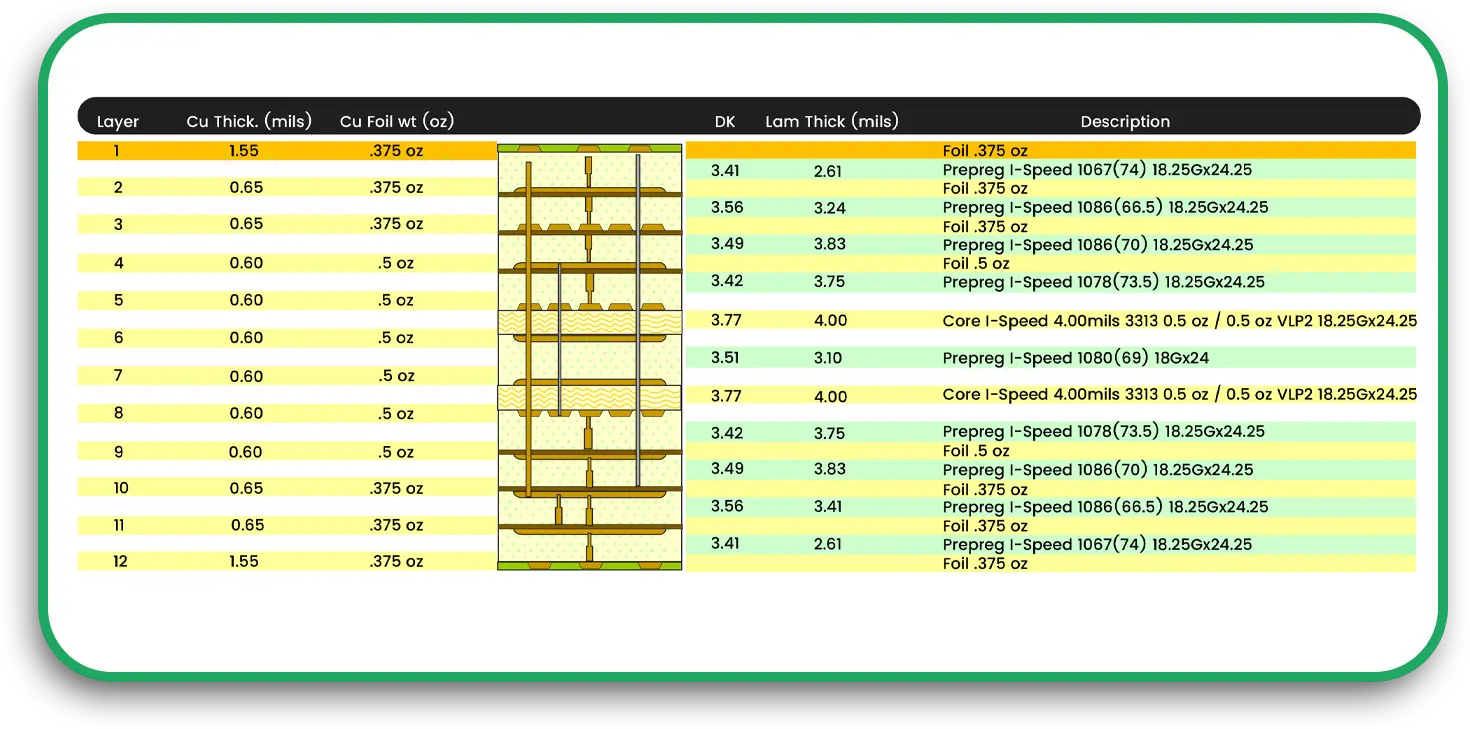
1. Plan the Stack-Up Carefully
An HDI PCB has multiple layers. The layer stack-up affects how your signals move and how heat spreads. You may need:
- A mix of signal, power, and ground layers
- Controlled impedance layers for fast signals
- Thin dielectric layers to reduce thickness
Work closely with your PCB board manufacturer to choose a stack-up that fits your needs.
2. Use Microvias Wisely
Microvias are tiny holes that connect one layer to the next. These are smaller than regular vias and are usually made with lasers. Here are a few best practices:
- Keep microvias to one layer of depth
- Avoid stacking too many micro vias on top of each other
- Fill microvias for better soldering and strength
If you are using a high-density interconnect PCB, micro vias are your friend, but only if you use them correctly.
3. Watch Your Trace Widths
HDI means tight spacing. That means your trace width and spacing should be carefully controlled. Here is what you need to think about:
- Make sure the trace width fits the current load
- Use wider traces for power and ground
- Keep spacing wide enough to avoid short circuits
Ask your HDI PCB manufacturer about the minimum trace width and spacing. This will help you avoid delays during fabrication.
4. Limit the Number of Layers
While HDI allows more layers, more is not always better. Every layer adds cost and complexity. Use smart routing and careful planning to reduce the number of layers in your multilayer printed circuit board.
For basic HDI designs, start with 6 to 8 layers. Only go higher if your design truly needs it.
5. Keep Heat in Check
Smaller boards and tight traces make heat buildup a concern. Use these ideas to keep your HDI PCB cool:
- Use thermal vias to move heat to other layers
- Add copper pours for heat spreading
- Use materials with better thermal properties
This helps your board last longer and run better.
Challenges in HDI Design
HDI offers excellent benefits, but you may face some issues:
- Higher Cost: More complex boards cost more to make.
- Longer Lead Times: Special tools like laser drilling take extra time.
- More Design Rules: You must follow strict layout and spacing rules.
A good printed circuit board manufacturer will guide you through these challenges. Make sure you communicate early and often.
Choosing the Right PCB Board Manufacturer
Not every fabricator can handle HDI. Look for someone with experience in high-density interconnect PCBs. Ask these questions:
- Do you offer microvia and laser drilling?
- What is your minimum trace width and spacing?
- Can you build filled and stacked vias?
- Have you made HDI boards before for similar applications?
The answers will help you find the right partner for your HDI project.
Testing and Inspection
Once your HDI PCB is made, it needs to be tested. Use these tools:
- X-ray Inspection: Looks at buried vias and checks for voids
- Electrical Testing: Checks for open and short circuits
- Solderability Testing: Ensures parts stick properly to the board
Do not skip testing. Even minor flaws in a high-density interconnect PCB can cause significant problems later.
Tips for Cost Control
If you want HDI without going over budget, try these:
- Use fewer layers when possible
- Avoid stacked vias unless needed
- Use standard materials if your design allows
- Plan your design with the manufacturer from the start
Saving money begins with smart planning and simple designs. Work with your fabricator to stay on track.
Final Thoughts
High-density interconnect PCBs can improve your product by making it smaller, faster, and more efficient. But HDI is not just about squeezing things into tight spaces. It is about careful planning, smart design, and working with the right team.
If you are designing a high-density board-to-board interconnect, choosing a skilled HDI PCB manufacturer makes all the difference. With the right help, your HDI project can be a success. Make sure your next custom printed circuit board works the way you want it to. Follow the right steps and choose the right partner, and your high-density interconnect PCB will deliver the performance you need.

