
Whether you’re an engineer, repair technician, or electronics hobbyist, knowing how to check a circuit board correctly is essential for diagnosing electronic failures quickly and accurately. Modern electronic devices rely on increasingly complex PCB designs, including High Density Interconnect (HDI) technology, which enables greater functionality in smaller form factors. As circuit complexity increases, effective pcb board testing and circuit board fault finding become critical for identifying issues such as damaged traces, faulty components, short circuits, and power delivery problems. Using the right diagnostic tools and testing methods helps ensure reliable troubleshooting and faster repairs.
Circuit board diagnostics is the domain of technicians and engineers, though even hobbyists will do well to understand the basic concepts of PCBs. This article focuses on the primary tools for board-level diagnostics, testing procedures, and PCB defects analysis for effective troubleshooting.
What Are the Most Common Faults with Circuit Boards?
Before getting into the instrumentation and actual testing, it is helpful to put together a hypothesis of what could go wrong with circuit boards. Some of the most common faults with PCBs can be:
Physical Damage
- Due to excessive temperature: cracked traces, broken solder joints, and burnt components.
- Damage from dropping or rough handling of the board

Component Failure
- Passive components like resistors, capacitors, and even integrated circuits (ICs) can fail due to overheating.
- Used-up aging components that deteriorate over time.
Short Circuits
- Solder bridging or cluttered debris accidentally shorting traces may lead to faults Incorporated shorts within an HDI PCB.
Open Circuits
- Open circuits are defined as broken traces or open vias that stop electrical flow.
- Cold solder joints can create intermittent problems.
Environmental Factors (Outside Influences)
- Moisture-related corrosion.
- Dust, grease, or chemical contamination can impact a manufacturer’s quality control.
Essential Tools for Testing PCBs
In order to identify a fault in the circuit board, specialists use advanced diagnostic tools specific to the task. The following are essential tools for the job.
Multimeter
A Multimeter can help measure and check for bare traces of issues on a circuit board. A Multimeter can be used to measure:
Voltage: Ensures all components are receiving power.
Resistance: Determines if there are broken traces or open circuits.
Continuity: Checks if electrical paths are intact.
Oscilloscope
- Allows users to view waveforms and check for irregularities in signals.
- Positive when troubleshooting high-frequency circuits in high-density interconnect PCBs.
Logic Analyzer
Best for testing digital circuits and communication protocols.
Finds logic errors in microcontrollers and memory chips.
Thermal Imaging Camera
- Shows which parts are overheating and so may have a fault.
- Can find short circuits without having to touch the device.
Signal Generators
- Provides specific control test signals to determine if the circuit is responsive.
- Beneficial when dealing with problems in RF and analog circuits.
Magnifying Glass or Microscope
Assists in detecting problems with a circuit board like lousy solder joints as well as micro-cracks and corrosion.
Step-by-Step Guide: How to Check Circuit Board Faults
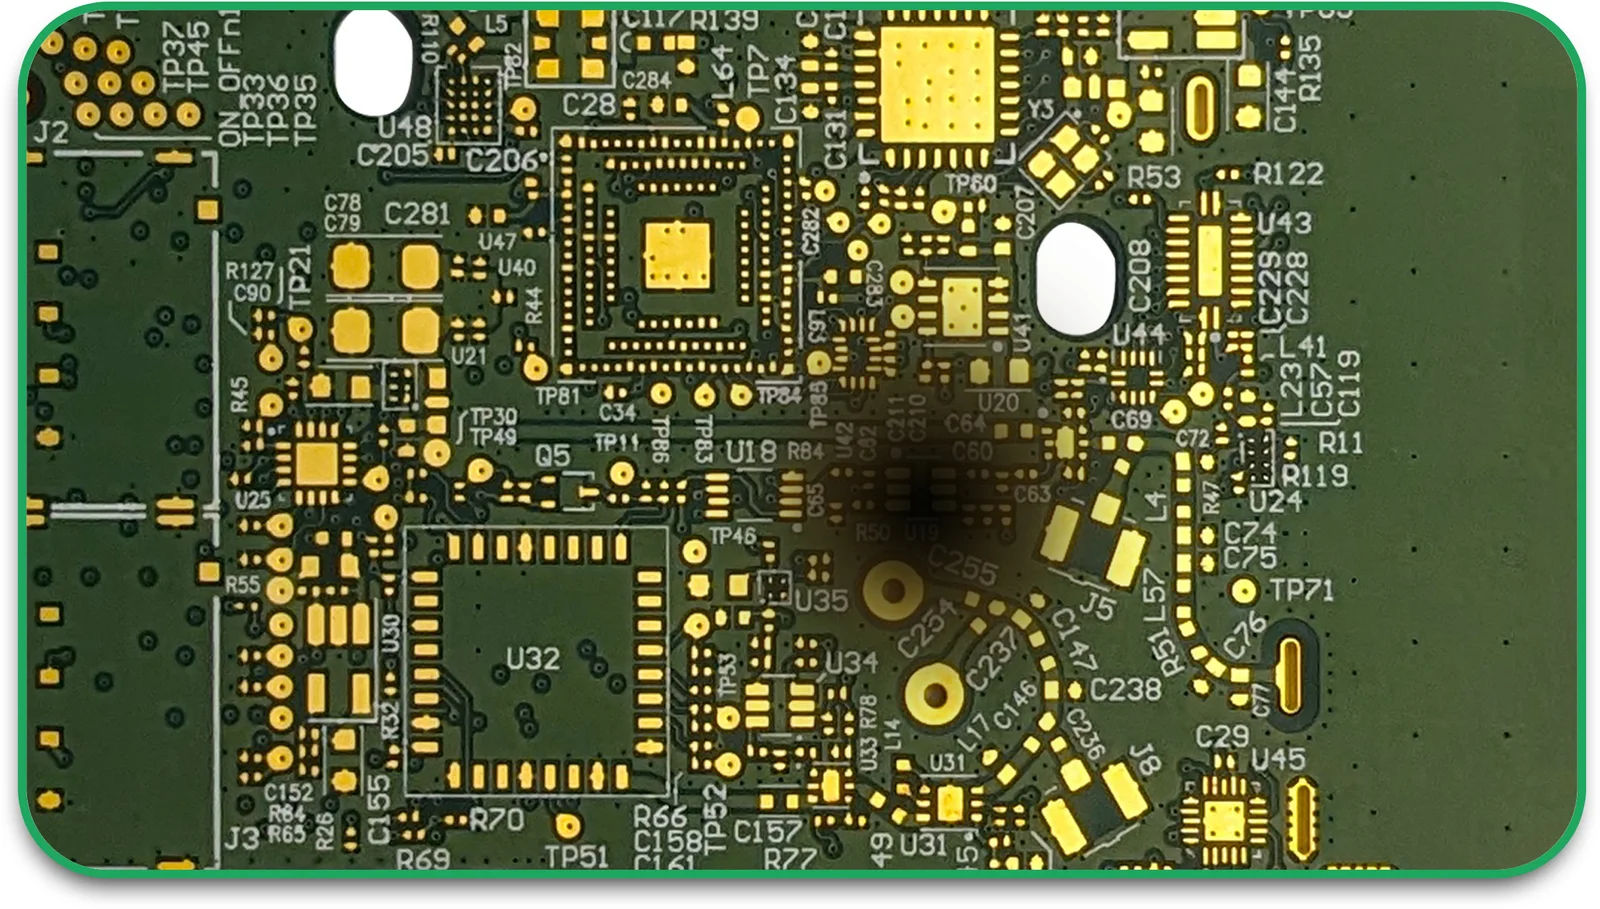
Step 1: Visual Inspection
- Prior to using any diagnostic tools, perform a thorough examination using your eyes only:
- Inspect for discoloration or burnt components.
- Verify any solder joints or ties that may be loose or broken.
- Examine traces for cracks or components that may be missing.
Step 2: Power Supply Check
- In case the board does not power on, analyze:
- The input voltage using a multimeter.
- Fuses and power regulators for any interrupted connections.
- Signs of overheating or other damage to power components.
Step 3: Continuity Testing
- Set the multimeter to continuity mode and check:
- The connections that link various components.
- If traces and vias are intact.
- Learn how to detect PCB flaws with regard to missing connections.
Step 4: Checking for Short Circuits
- Short circuits can cause the board to fail, so it is essential to check them. Use a multimeter to:
- Check the resistance that is present between the power lead and the ground wire.
- Spot areas where excessively high current is being drawn (this indicates a shorted part).
- Conduct isolation of parts that are suspected to be faulty and remove them for further tests.
Step 5: Testing Circuit Board Components
One of the most effective ways to diagnose PCB failures is by testing circuit board components individually. Faulty resistors, capacitors, diodes, transistors, and integrated circuits (ICs) can cause a circuit board to malfunction or fail completely. By testing each component and comparing the readings to the manufacturer’s specifications, technicians can quickly identify defective parts and determine the root cause of the problem.
Perform the following tests:
Resistors: Use a multimeter to measure resistance and verify the value matches the component rating.
Capacitors: Use an ESR meter or capacitance meter to identify open, shorted, or degraded capacitors.
Diodes: Check the forward and reverse voltage drops using the diode test function on a multimeter.
ICs and Transistors: Use a logic probe, component tester, or oscilloscope to verify proper operation and signal behavior.
Step 6 – Step-by-Step Guide: How to Check PCB Board Faults
An oscilloscope is a valuable tool for circuit board fault finding because it allows technicians to analyze electrical signals in real time. When performing pcb board testing, signal tracing helps identify issues that may not be visible through visual inspection or basic multimeter tests.
To troubleshoot PCB defects with an oscilloscope:
- Check signal quality at different points throughout the circuit.
- Compare waveform shapes and voltage levels with the specifications provided in the component datasheet.
- Identify abnormal conditions such as excessive noise, signal distortion, glitches, missing pulses, or unstable waveforms.
- Verify that clock signals, communication signals, and power-related waveforms are operating correctly.
- Trace signals from the input stage to the output stage to pinpoint where the fault occurs.
By analyzing signal behavior, technicians can more accurately determine how to check PCB board fault issues and identify defective components or circuit sections causing the malfunction.
Step 7 – Functional Testing
If the components look functional, and the board still fails to work:
- Start by using a signal generator to insert test signals
- Keep an eye on the circuit’s behavior using a logic analyzer.
- If need be, check the functionality of the firmware and software.
Preventing PCB Faults: Best Practices
To minimize the how to check a circuit board for faults, observe the following:
Design for Reliability:
- Always simulate possible failures with PCB Design Software.
- Always adhere to the circuit board assembly guidelines and aim for manufacturability.
Quality Components:
- Always obtain components from reputable PCB circuit board manufacturers.
- Always stay away from counterfeit electronics and subpar parts.
Soldering Techniques:
- Ensure good solder joints and clean solder pads.
- Avoid using too much heat, which may damage components.
Thermal Management:
- Make use of high-quality thermal heat sinks, vias, and copper pours for heat dispersion.
- Maintain proper airflow for temperature-sensitive circuits.
Periodic Tests and Checkups
- Perform error detection at various levels of the circuitry in the printed circuit diagram.
- In mass manufacturing, make use of automated optical inspection AOI.
Expert Insight
Printed Circuit Boards (PCBs) are becoming more complex due to advanced technology. Identifying and fixing PCB failures is challenging, but even faulty boards can be diagnosed and repaired. Modern PCBs have tiny components, including custom and untestable parts, making troubleshooting difficult. Unlike simple PCBs, they cannot be tested and repaired using standard Automatic Test Equipment (ATE). Fixing these advanced PCBs requires skill and experience rather than just technical knowledge. PCB fault analysis needs strong theoretical understanding and analytical thinking. It is not something you learn only from books but through hands-on experience.
Final Words
Understanding how to check for faults on a circuit board properly is pivotal in the life of an engineer, repair technician, and electronics hobbyist. Failures of printed circuit boards PCBs can be diagnosed accurately using efficient and appropriate circuit board diagnostic devices and tested using appropriate techniques.
Looking for dependable solutions for PCBs?
Get in touch with us for unmatched quality in circuit board assembly as we are PCB Runners, your specialists in PCB circuit board manufacturing.
FAQs
1. What methods of detecting PCB defects are executed using a multimeter?
Devices measuring voltage, resistance, and continuity, like a multimeter, are able to identify all circuit board fault-finding problems, such as open circuits, short circuits, and problematic parts.
2. What are some of the reasons for a circuit board ceasing its function?
Some of the most common ones are failure of components, short-circuiting, broken traces, overheating, and manufacturing flaws.
3. What are some of the best tools for diagnosing PCB defects?
Some of the most essential tools are the multimeter, oscilloscope, thermal camera, logic analyzer, and signal generator.
4. What are some ways to help me avoid PCB failures?
High-quality components, good soldering, thermal management, and adhering to design plans significantly reduce the chances of a PCB failing.
5. Is it possible to fix a broken circuit board?
Definitely, Broken traces can be repaired with wire jumpers, and replacing broken parts will get the PCB working again.
6. How do you test a circuit board safely?
To learn how to test a circuit board safely, disconnect power before checking continuity or resistance. Use a multimeter to verify voltage levels and inspect components for signs of damage before performing advanced tests.
7. How do you perform circuit board fault finding?
Effective circuit board fault finding begins with a visual inspection, followed by power checks, continuity testing, and component analysis. Technicians often use multimeters, oscilloscopes, thermal cameras, and logic analyzers to identify faulty components and damaged traces.

