Think about trying to bake a cake without checking if it’s done in the middle, or building a bridge without measuring if the supports will hold. In electronics, inspection is like the last step check: it makes certain that every product functions correctly and safely. This is where IPC inspection comes into play.
For anyone involved in the PCB’s design, assembly, or manufacture, knowing the IPC inspection guidelines is essential. It enables makers, engineers, and businesses to identify defects in the design, gaps in the manufacturing processes, and to avoid failures, ensuring the devices delivered are compliant with the industry standards and user expectations.
So, let me introduce you to IPC inspection, best practices, and understand why it is essential from custom PCB assembly to sophisticated rigid-flex boards.
What is IPC Inspection?
IPC is a worldwide association that issues standards for the design, fabrication, and inspection of printed circuit boards (PCBs) and electronics assemblies. IPC is the “Institute for Printed Circuits,” but now it is best known by its short form.
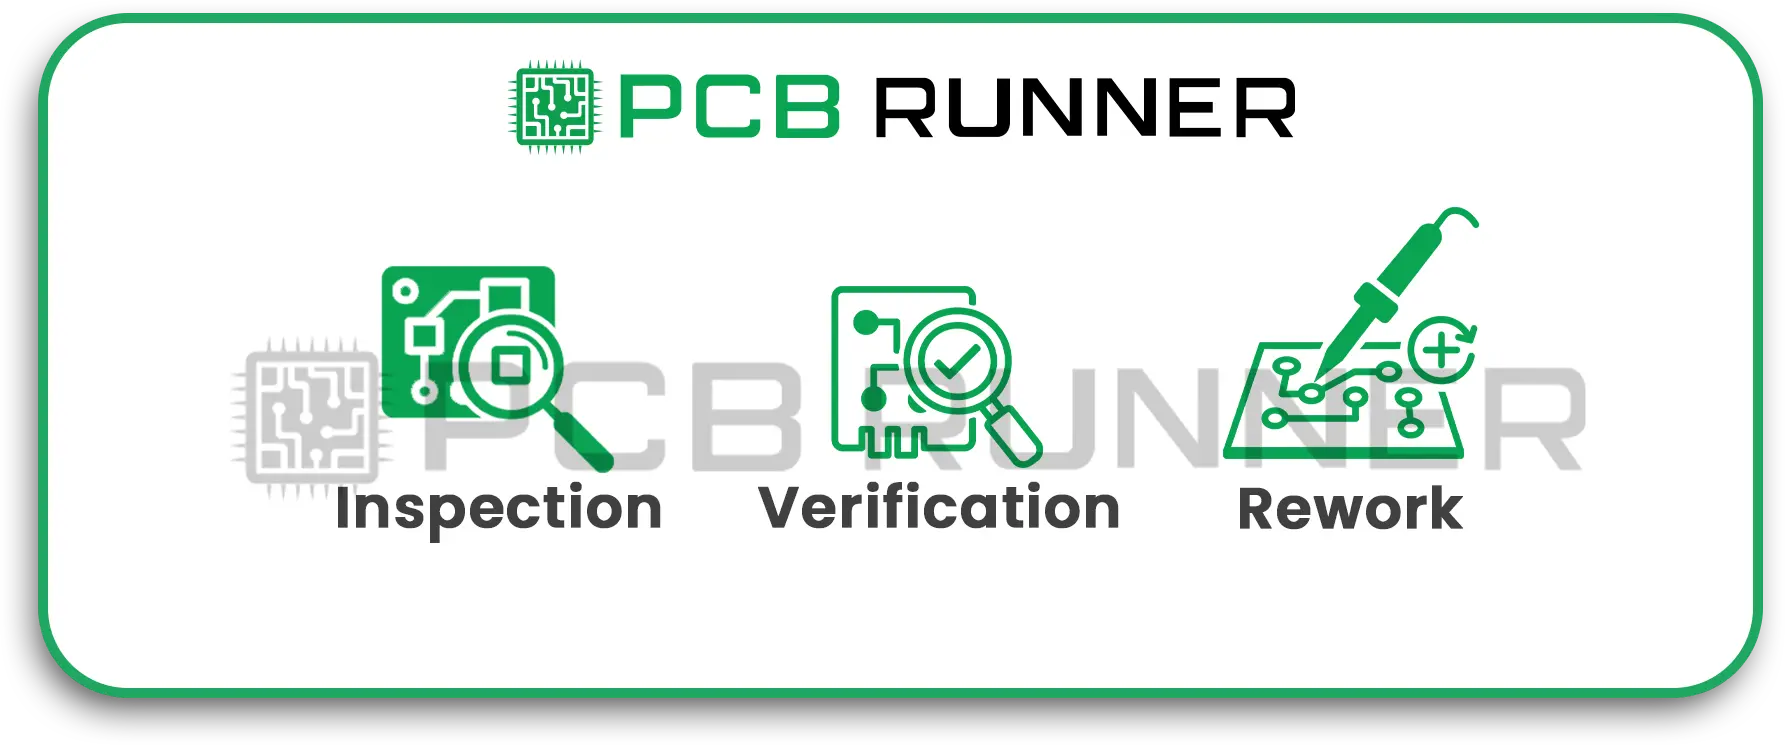
IPC inspection is the process of evaluating PCBs and assemblies in accordance with the IPC guidelines. These evaluations are conducted at multiple stages:
- Post manufacturing: Bare board inspection
- Post assembly: Checking finished products
- During the process of rework or repair
What’s The Objective? Spot problems in the board and make sure it is up to standard at every level of quality control.
Why Are IPC Inspection Rules So Important?
Think of IPC rules as the “recipe book” for electronics. These guidelines make sure that each custom PCB assembly and every rigid-flex board is:
- Safe for use
- Durable
- Functional as intended
By skipping inspection or ignoring these rules, you’d risk creating short circuits, recalls, or dangerous failures. Nobody wants their fancy new gadget to die an early or an unexpected, sudden death.
Key IPC Inspection Rules: In a Nutshell
IPC has numerous standards, but two of the most noteworthy ones are:
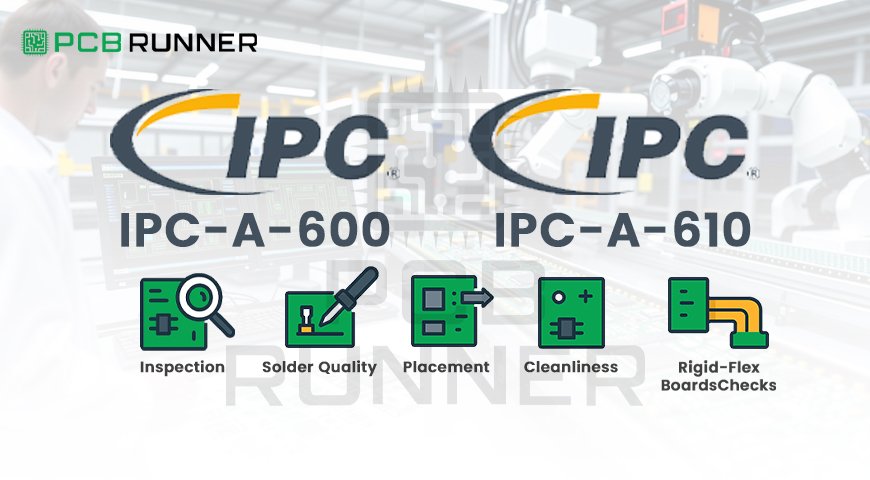
- IPC-A-600: This standard is for bare boards and highlights how a perfect PCB should be and what flaws are not acceptable.
- IPC-A-610: This standard is for assembled PCBs, which includes soldering, component placement, and the overall cleanliness of the board.
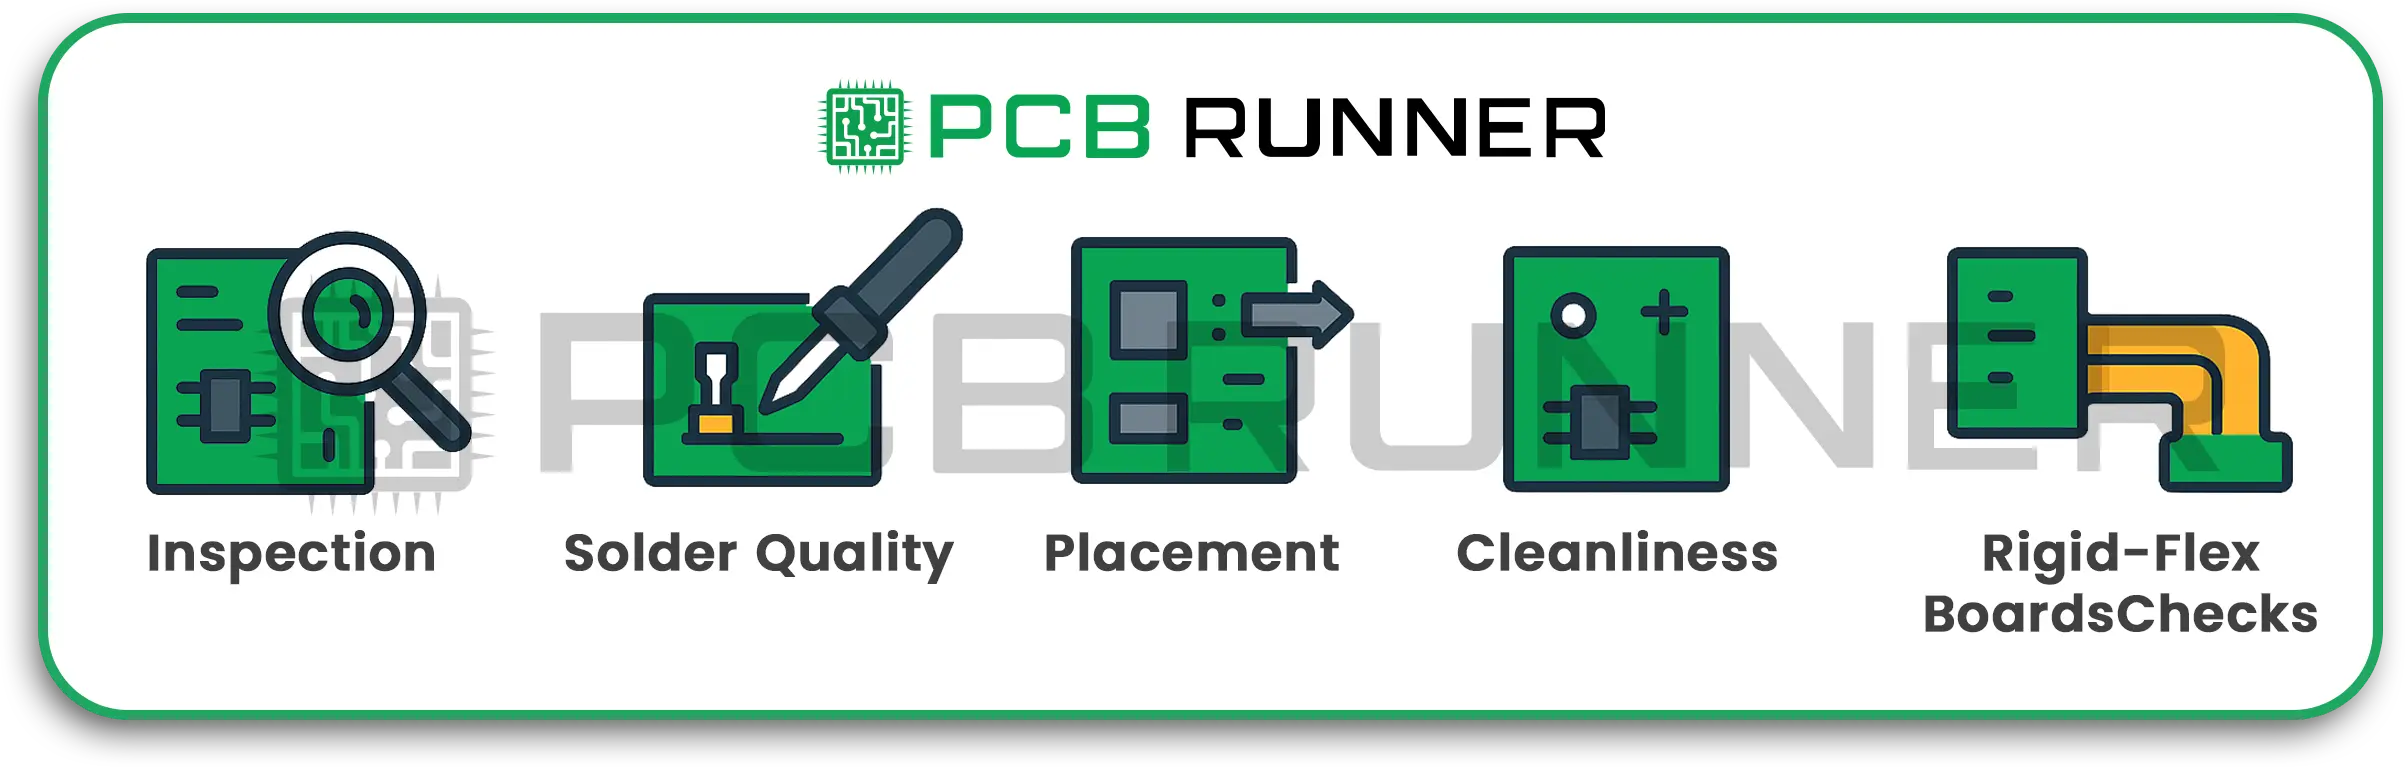
1. Visual Inspection
Every board goes through a detailed inspection:
- Do the traces (the small copper pathways) look clean and intact?
- Are the holes clean?
- Are the layers properly aligned?
- Is there any physical damage, like scratches or burn marks?
- For rigid-flex board designs, are the flexible zones free of splits or tears and smooth?
2. Solder Joint Quality
For solder joints,
- The exposed surfaces should be shiny, smooth and not cracked.
- Prevent excessive solder, “solder bridges” which can inadvertently connect pads and cause a short.
- Critical IPC requirements are: the exposed pad and component lead must be a precise cut percentage of the solder joint.
3. Component Placement
For the components,
- Orientation should face the right direction.
- Components should not only be centred on their respective pads but also at the right height.
- Should not be tilted or “tombstoned”.
4. Cleanliness and Residue Checks
Ensure there is no leftover soldering flux, dust or hand smudges. Any of these can cause system failure in the long run.
5. Extra Checks for Rigid-Flex Boards
Rigid-flex boards have some unique considerations:
- See to it that the flex section is able to bend without any cracks appearing.
- Look for any signs of delamination.
- Pulling apart layers due to delamination.
- Confirm that stiffeners and connectors are securely attached.
As an example, we can use the IPC inspection rules for a rigid-flex board.
Best Practices for Effective PCB Inspection
You can have the best technology and most advanced designs, but if you skip careful checks, success is uncertain. Here’s how top pcb manufacture teams approach inspection:
1. Follow a Step-by-Step Process
- Inspect at every stage, from raw materials to final assembly.
- Catching errors early saves time and money.
2. Use Automated and Manual Inspections
- Automated Optical Inspection (AOI): Cameras and software scan boards to spot even tiny faults.
- Manual Inspection: Human inspection handles complex boards or places machines can’t see.
- For tough designs, such as high-density or custom PCB assembly, both are essential.
3. Test for Function, Not Just Looks
- Power-up tests check if every circuit works as planned.
- Boundary scan and X-ray inspection spot problems hidden inside layers or beneath chips.
4. Train Staff on IPC Standards
Quality starts with knowledge! Teams should know the latest IPC-A-600 and IPC-A-610 rules. Mistakes often happen when people miss small but important details.
5. Document Everything
- Keep detailed records of inspections.
- This helps trace problems and improves the process for future builds.
Common Problems Found by IPC Inspection
- Solder bridges: Unwanted connections that can short the circuit
- Open circuits: Broken connections (like a street with a cut-off bridge)
- Wrong or missing parts: Components facing the wrong way, or not installed at all
- Poor bonding between rigid and flex parts
- Contamination: Dust or oil causing problems over time
With strict inspection, these issues are spotted before boards reach customers.
How PCB Inspection Benefits You
Whether you’re an engineer, maker, or tech company:
- Safety: Avoids dangerous device failures
- Reliability: Products last longer, build customer trust
- Faster Launches: Fewer delays fixing hidden flaws
- Cost Savings: Prevents expensive recalls or repairs
Tip: When choosing a pcb manufacture partner, always ask about their IPC inspection process. Reliable partners never skip this step!
Best Practices for Custom PCB Assembly and Inspection
- Define Inspection Criteria Early: Decide which IPC class your board needs, Class 2 (industrial), Class 3 (mission critical), etc.
- Work Closely with Your Assembler: Share your board design and requirements. Good custom PCB assembly teams will suggest inspection steps.
- Embrace Both Manual and Automated Inspections: For precision and thoroughness.
- Never Skip the Final Functional Test: It’s your insurance against hidden errors.
- Update Inspection Processes as Tech Evolves: New designs, like complex rigid-flex boards, need updated inspection strategies.
For the Curious: Going Deeper Into IPC
Want to become an inspection pro or simply understand more? Learn about IPC’s role and standards in electronics manufacturing with resources straight from the source.
Conclusion: Inspection Is the Unsung Hero (And PCB Runner Gets It Right)
From the outside, electronics look smooth and simple. But inside, every device’s reliability depends on careful inspection at each step. IPC inspection isn’t just a checklist, it’s a mindset, a habit of excellence. For anyone working with pcb inspection, rigid-flex board builds, or custom assemblies, knowing, and following, IPC rules is non-negotiable. That’s how modern technology stays smart, safe, and long-lasting.
Companies like PCB Runner put IPC inspection at the heart of their process, so you can count on circuits that meet the highest standards, every single time.
In electronics, a careful eye saves the day. Never underestimate the power of a thorough inspection!